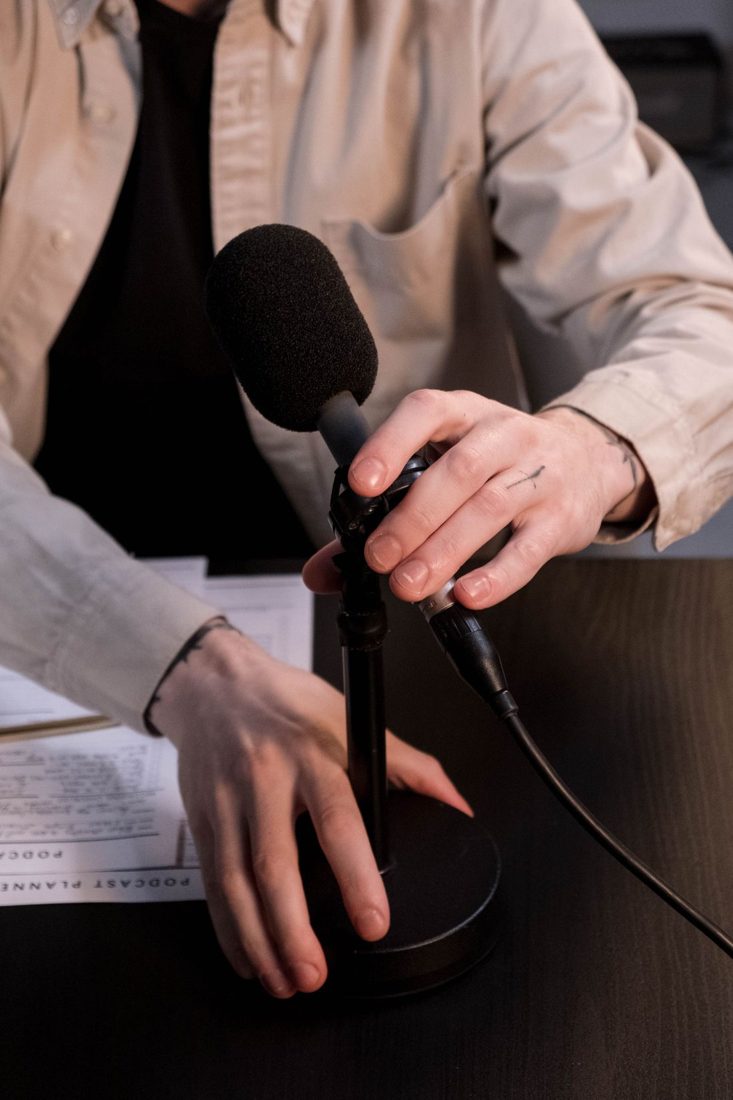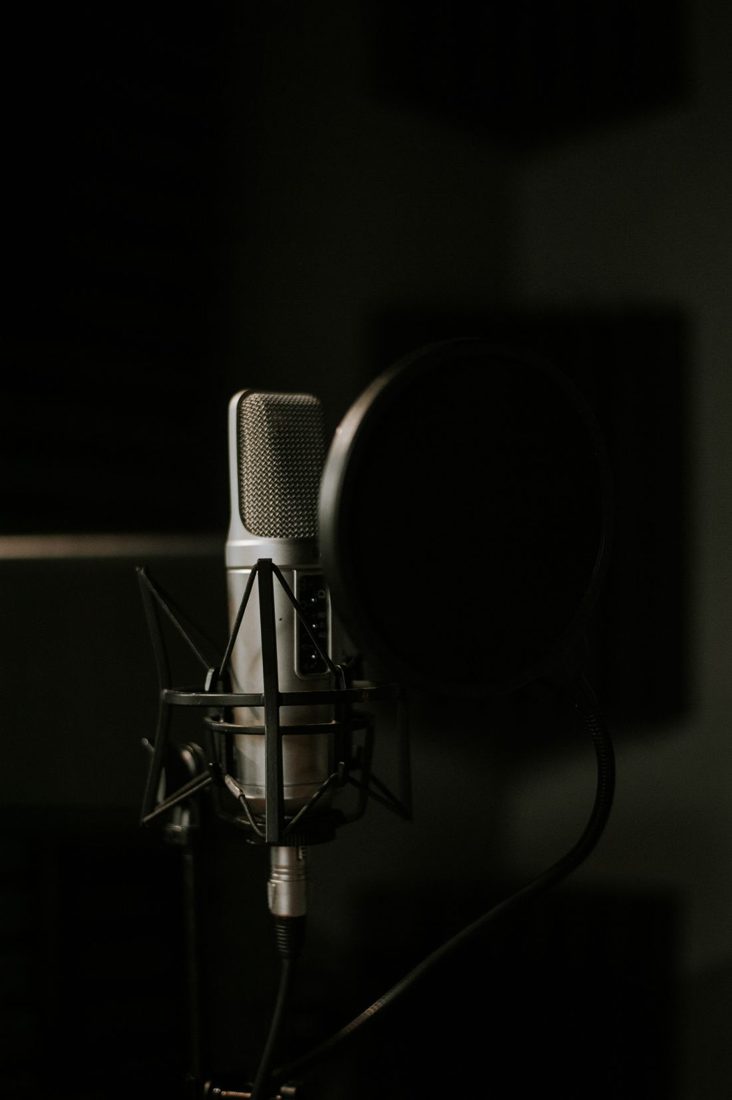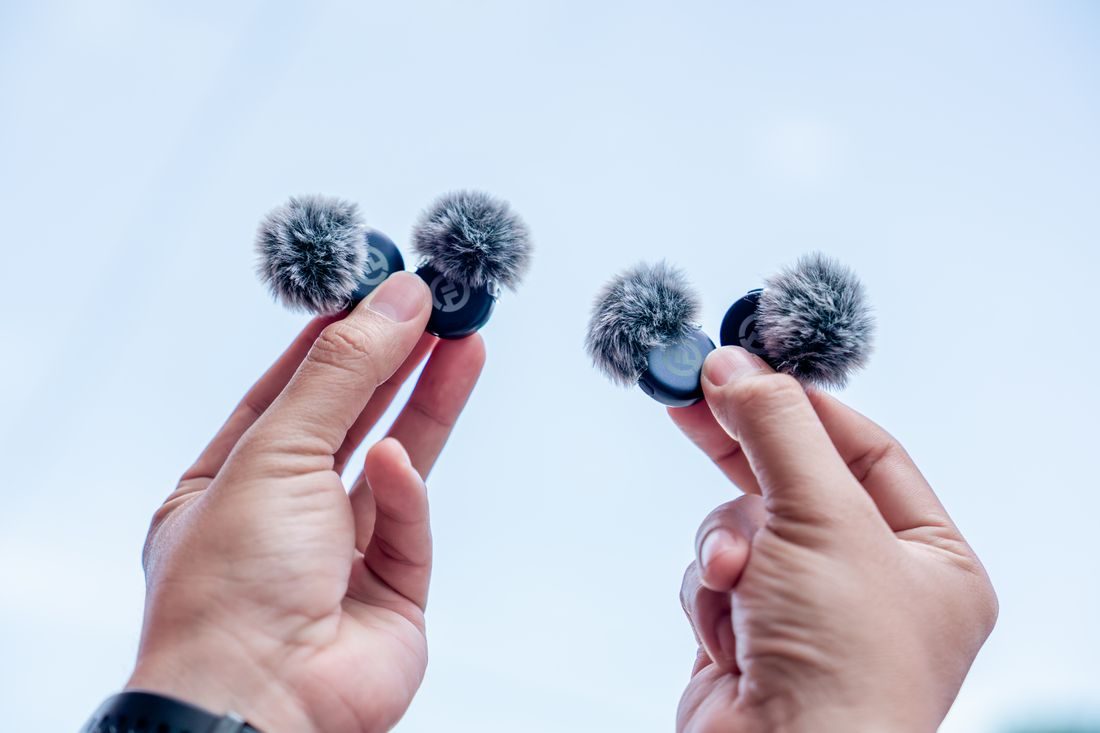
A calm-looking outdoor location can still produce strong rumble when moving air reaches a microphone. The camera picture may offer no warning. Wind protection needs to suit the microphone and the conditions, and it should be checked while recording. Start with a short spoken test at the real location before asking a presenter to deliver a full explanation.
Use protection designed for the microphone
Check the manufacturer’s compatible windshield options. Fit and coverage matter: an accessory that slides on loosely or leaves part of the intended area exposed may not work as expected. Install it according to its instructions, keeping its material clear of controls and moving parts.
A small foam cover and a more substantial outdoor windshield are not interchangeable in every situation. For example, RØDE distinguishes light-wind use of the VideoMic GO II’s supplied foam from stronger-wind use with its compatible WS12. Apply that principle through the guidance for your own microphone rather than assuming the same accessory or performance applies to another model.
Test speech and pauses together
Record a few natural sentences, then stop speaking while the equipment continues recording. Listen on headphones for low rumble, bursts, and rustling against the windshield. Check the loudest section for overload. A voice that seems audible through the wind in person may still be difficult to understand in the captured file.
Look for cable movement and contact with hair, clothing, or the camera as well. These noises can coexist with wind. Make one adjustment at a time, then repeat the same short test so you can tell whether the problem changed.
Let the location help
Move to a more sheltered position when possible, keeping the microphone close enough for clear speech within its intended use. Check that the new position still suits the image and does not put the presenter in a hazardous or obstructive place. A wall or other shelter may change reflected sound, so listen again rather than treating the move as an automatic fix.
Know when to change the recording plan
If the words remain unusable, consider filming the demonstration and recording its explanation separately in a suitable room. Avoid promising that software will reconstruct speech hidden by severe wind or distortion. Capture useful location sound when conditions allow, but give the essential instructions a recording method that preserves them. Keep wind protection dry and maintain it according to its own care guidance after the shoot.
Carry the compatible windshield with the microphone rather than treating it as an optional item to remember later. Before each important take, listen to another brief sample if the weather or position has changed. A small check at the location is more useful than discovering an entire windy explanation during editing.