Photography
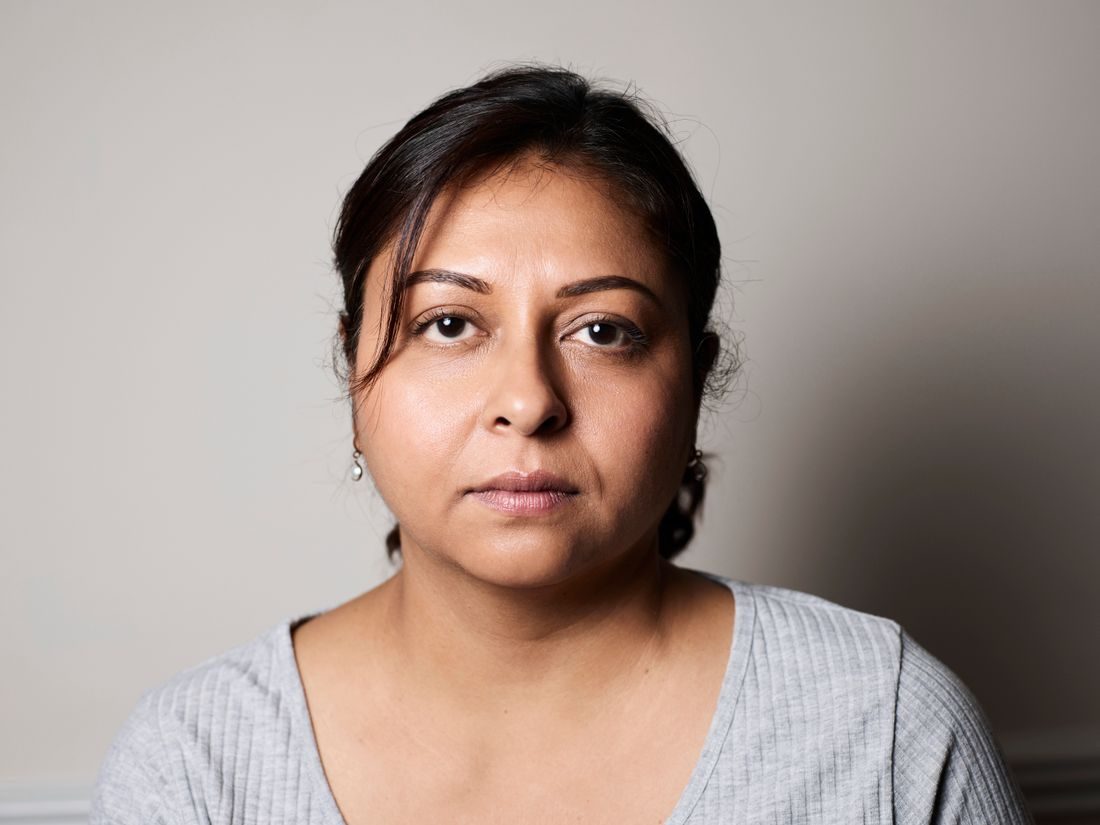
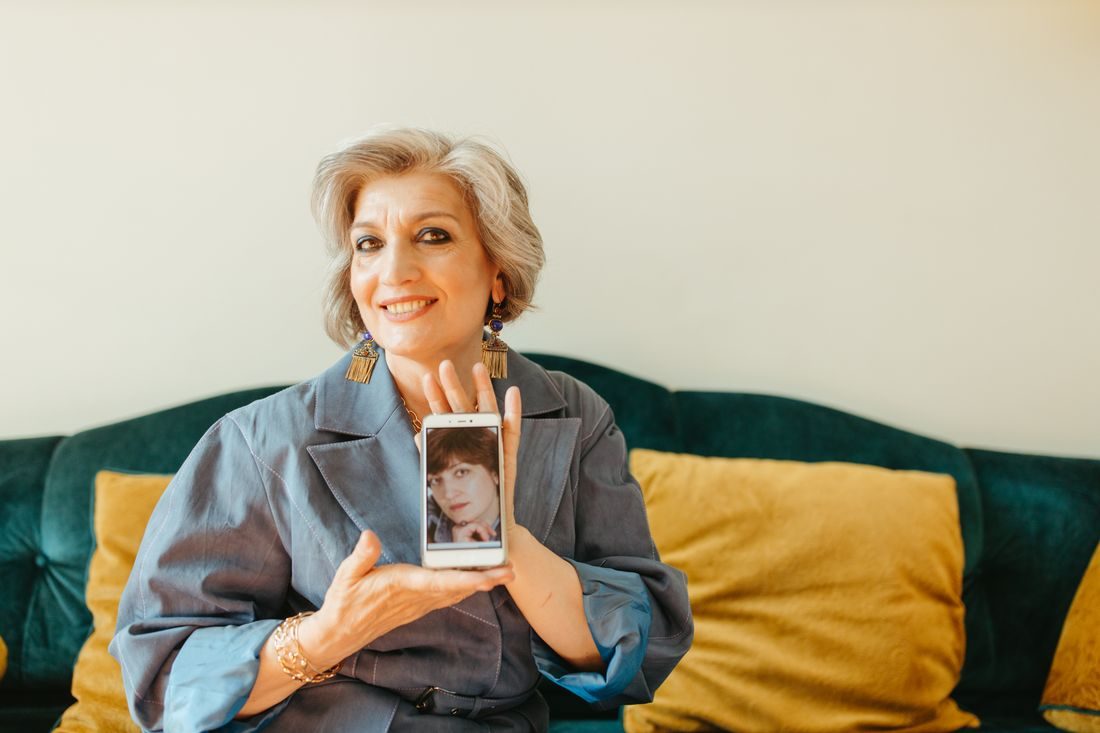
Use window light for a natural portrait
Make a comfortable indoor portrait with one window, a simple background and small changes in position that you can judge before taking the photograph.
Light, composition and photographs with a purpose.
Make a comfortable indoor portrait with one window, a simple background and small changes in position that you can judge before taking the photograph.
Keep useful detail in a window by choosing what matters in the scene, adjusting exposure deliberately and reducing the contrast before relying on an edit.
Use small changes in camera position, subject placement and background detail to keep attention on a portrait without stripping away its sense of place.
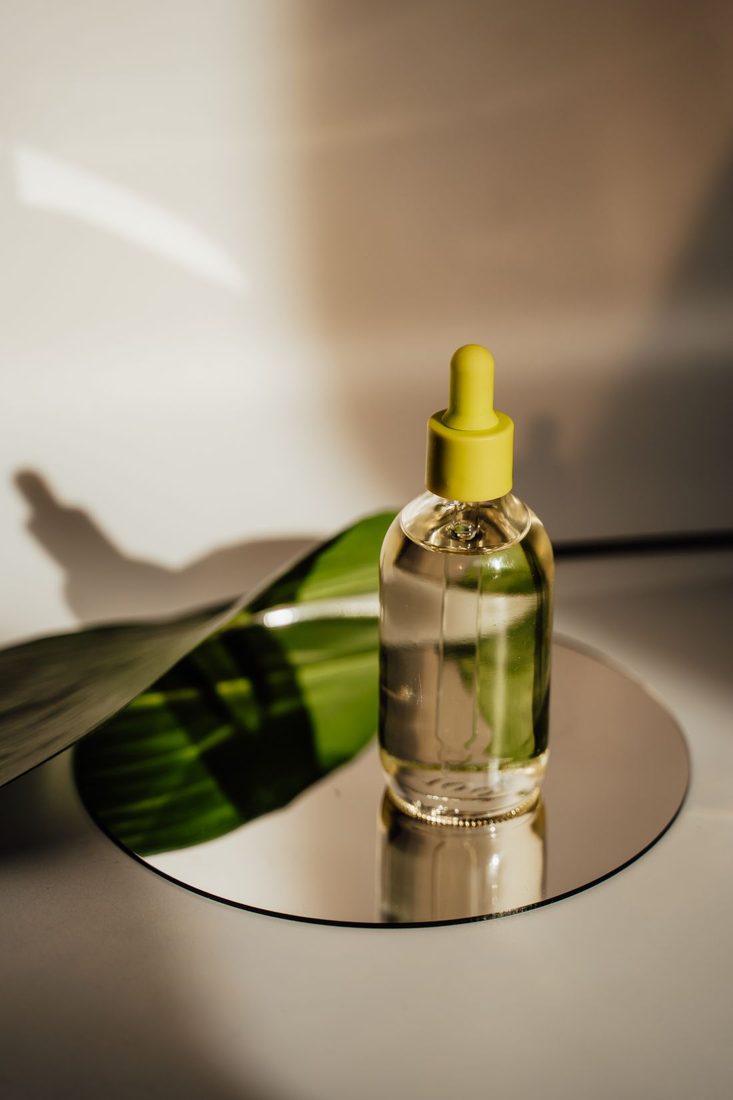
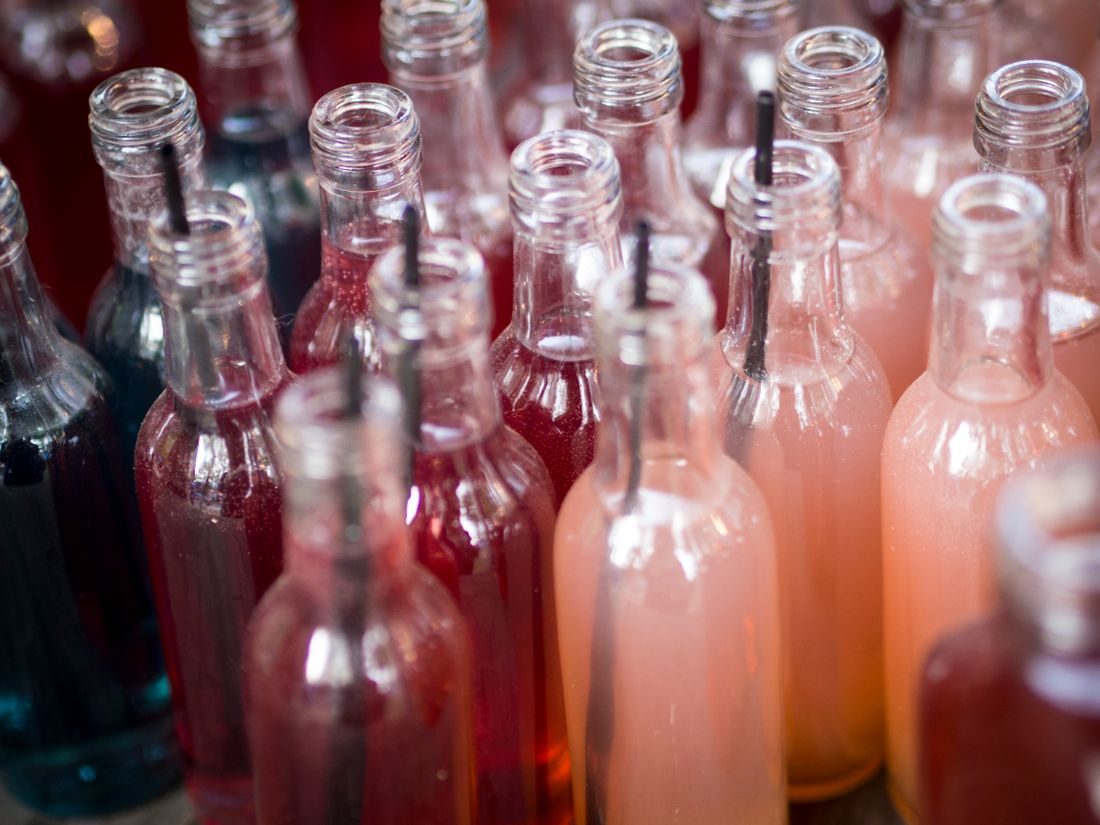
Control what a glossy object reflects by changing the surrounding surfaces and light position before trying to remove bright patches during editing.
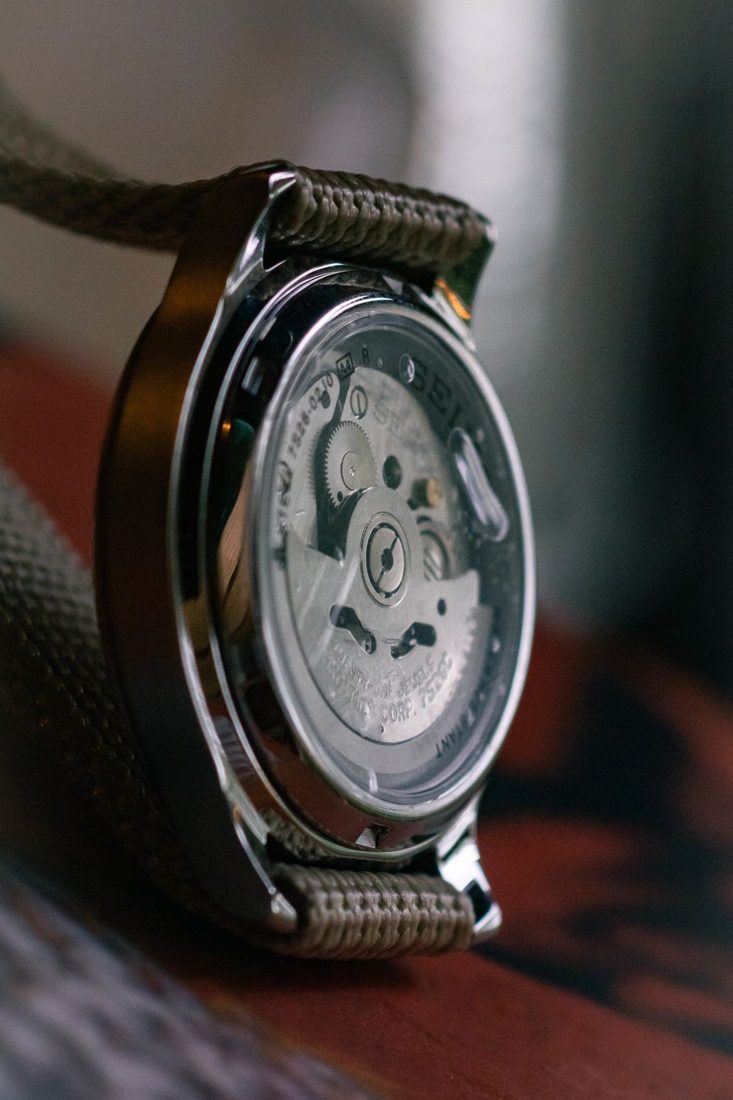
Improve close-up clarity by respecting focusing distance, choosing the most important surface and stabilising both camera and object before changing equipment.
Use a window, a sensible camera angle and restrained styling to show the texture and character of food without filling the frame with unrelated props.
Build a product series that makes size differences understandable by fixing camera position, using a repeatable framing rule and including honest scale information.
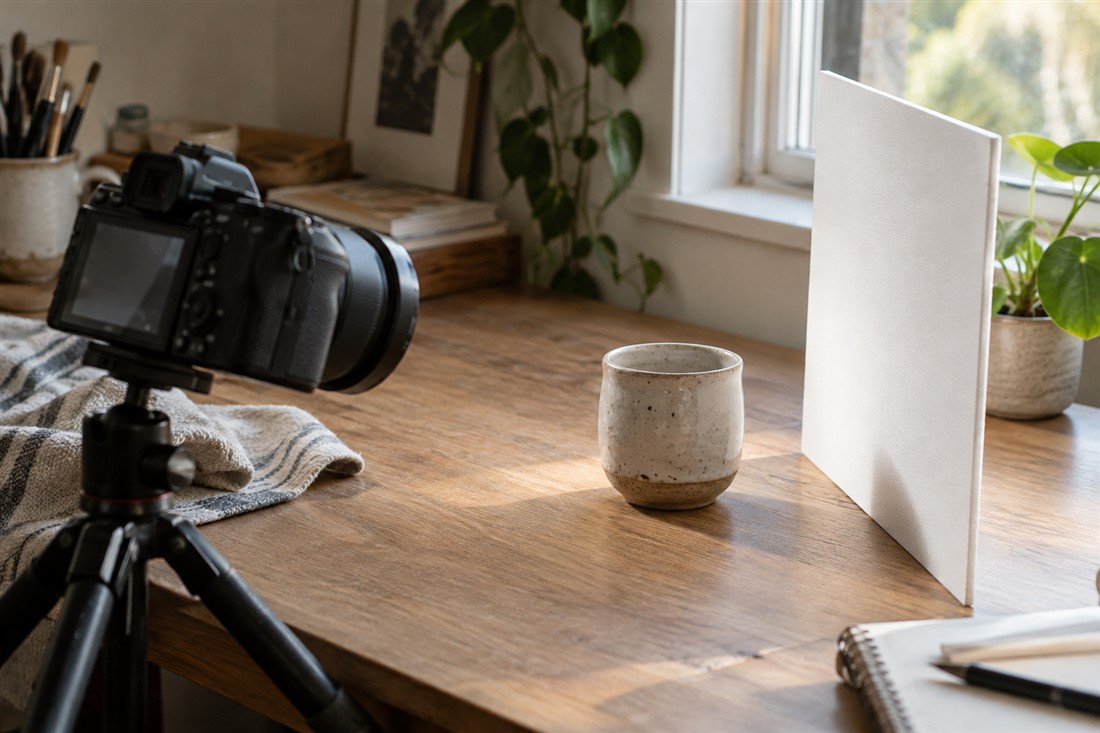
Reflect some existing light into a product’s shaded side with a simple white card, then adjust distance and angle by comparing the actual result.
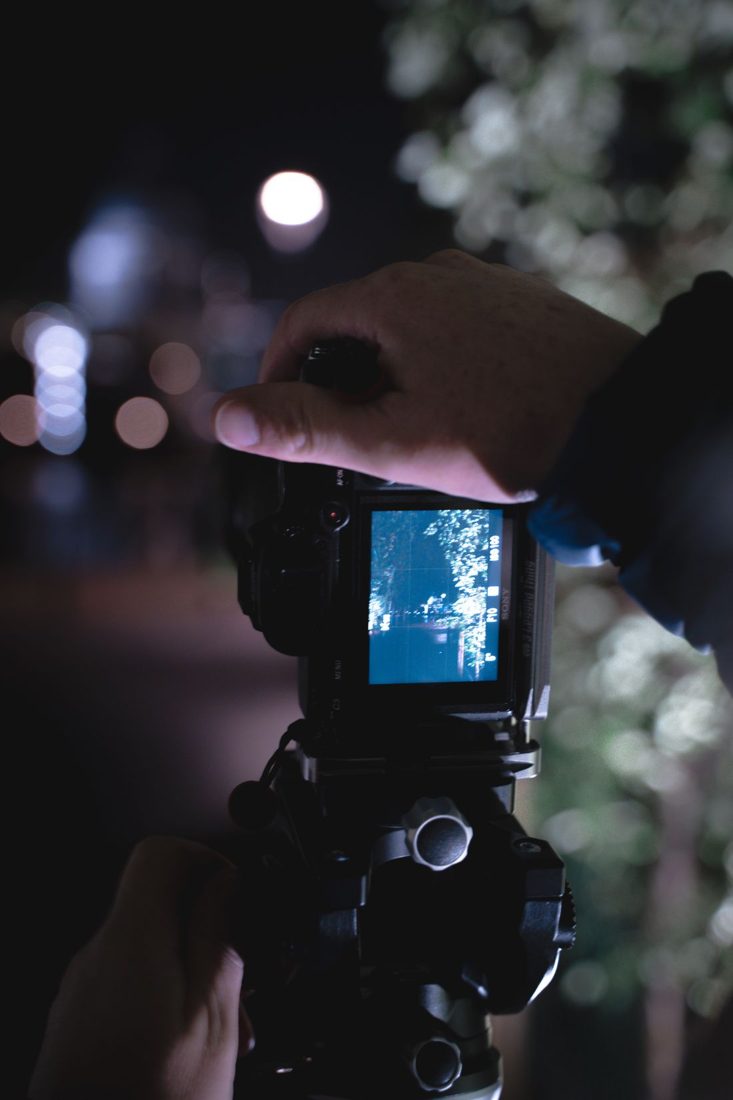
Diagnose camera movement and subject movement separately, then improve support, light and exposure choices before assuming that a dim scene cannot produce a clear photograph.
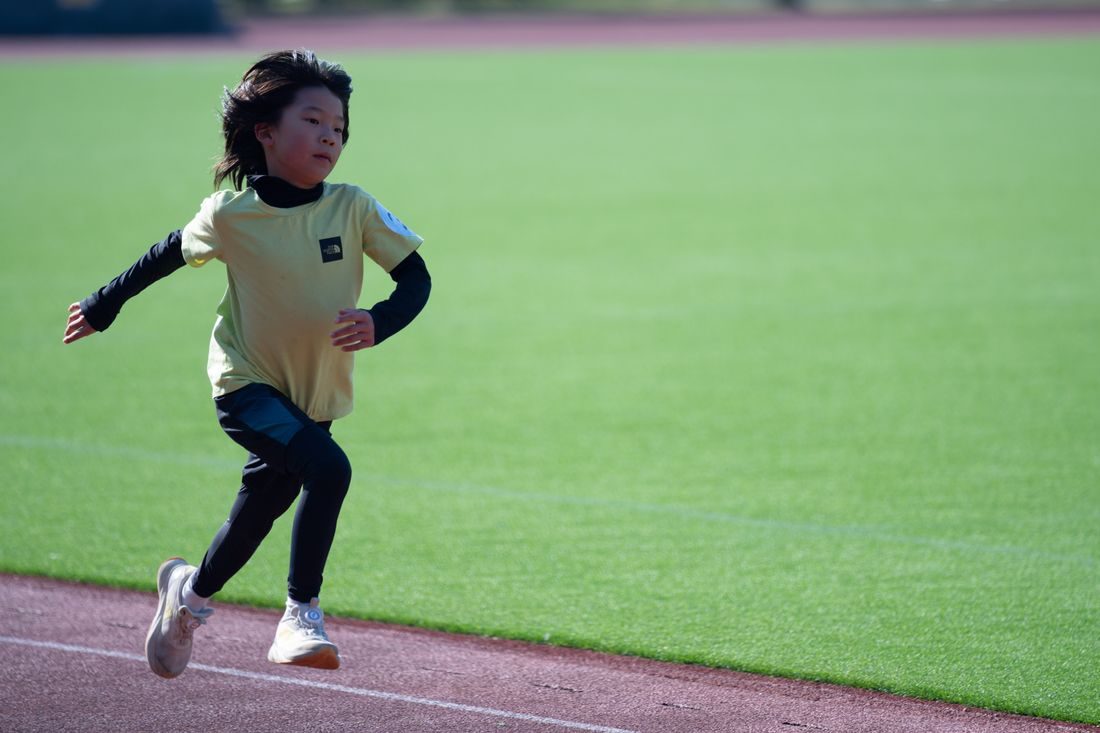
Start with the kind of movement you want to show, use a practical shutter-speed test and adjust as the activity changes rather than chasing one fixed setting.
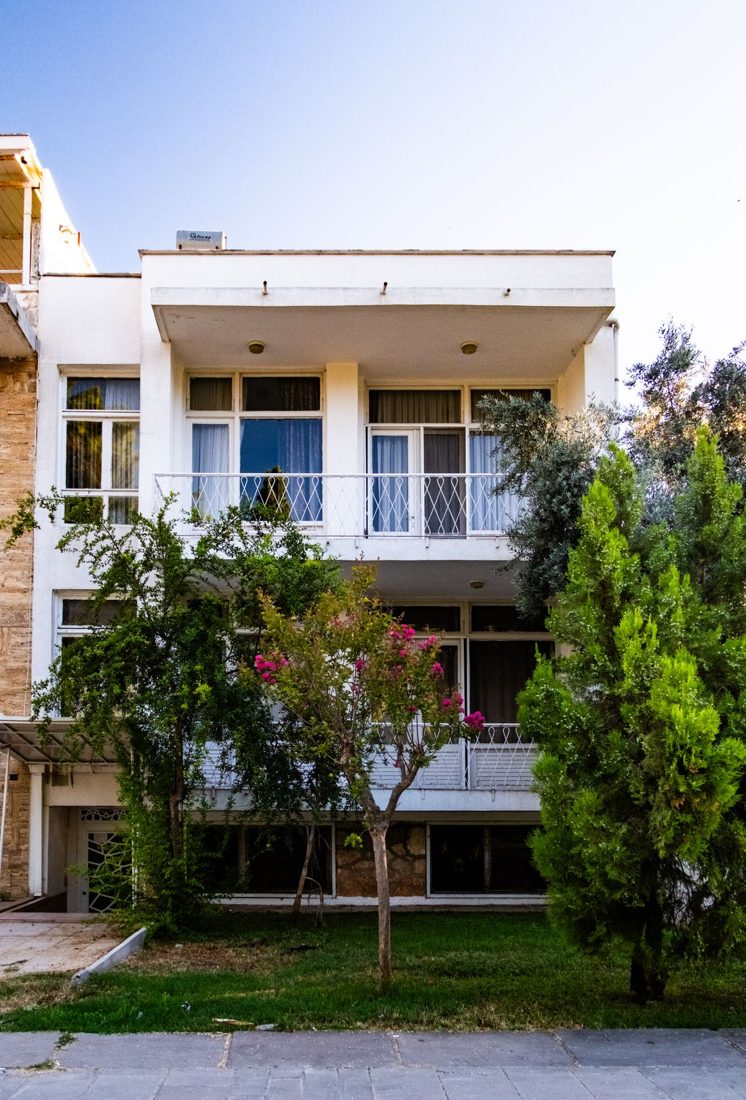
Find a viewpoint that explains a building’s overall form, check the edges deliberately and leave room for any later perspective correction or alternate crop.
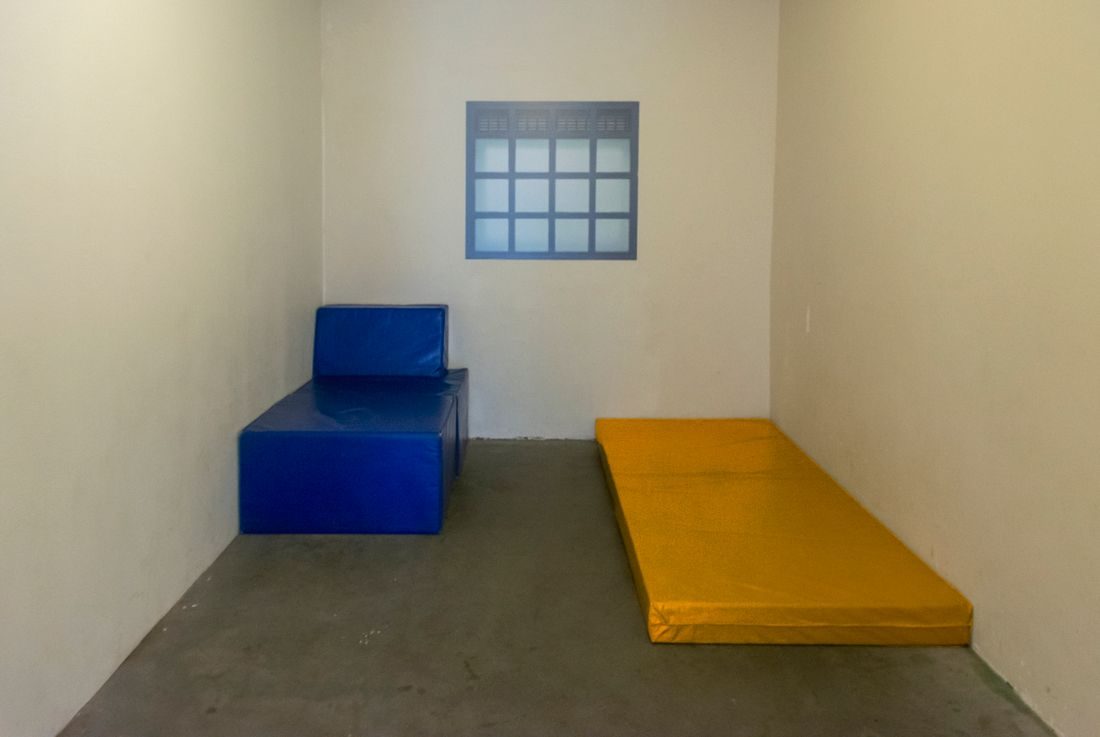
Show a compact interior clearly by choosing an honest viewpoint, keeping proportions believable and including the features a viewer needs to understand the space.
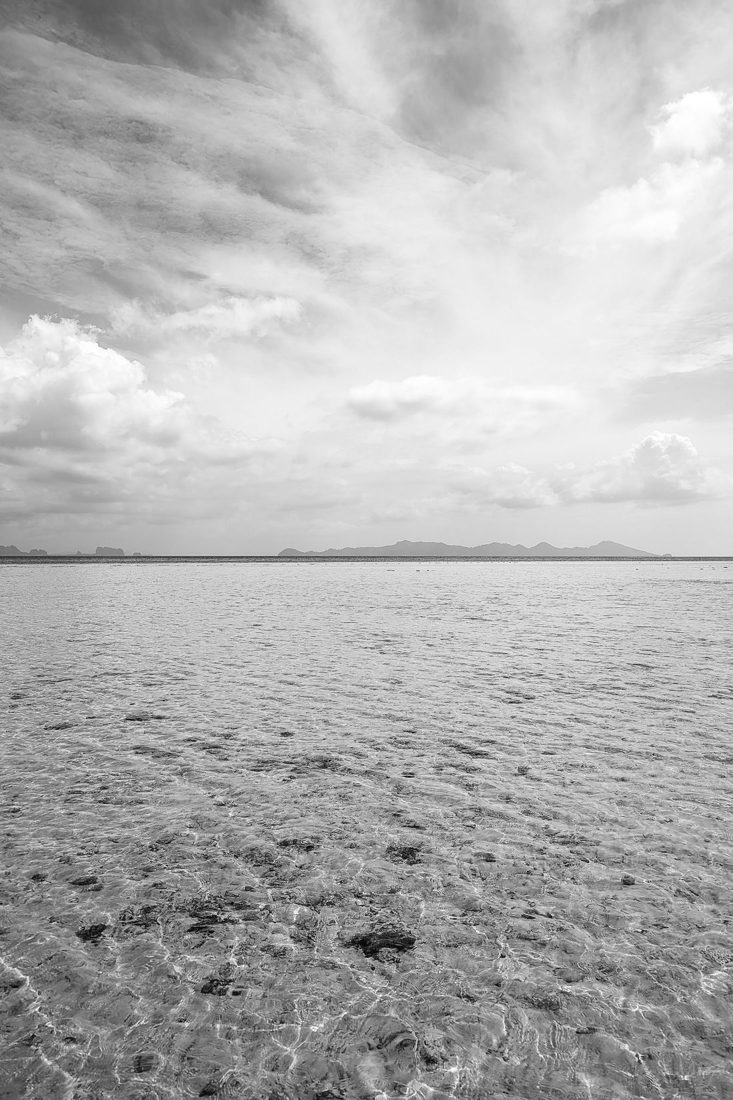
Use a real horizon or a trustworthy level reference, allow for uneven foregrounds and make small corrections without cutting away important parts of the landscape.
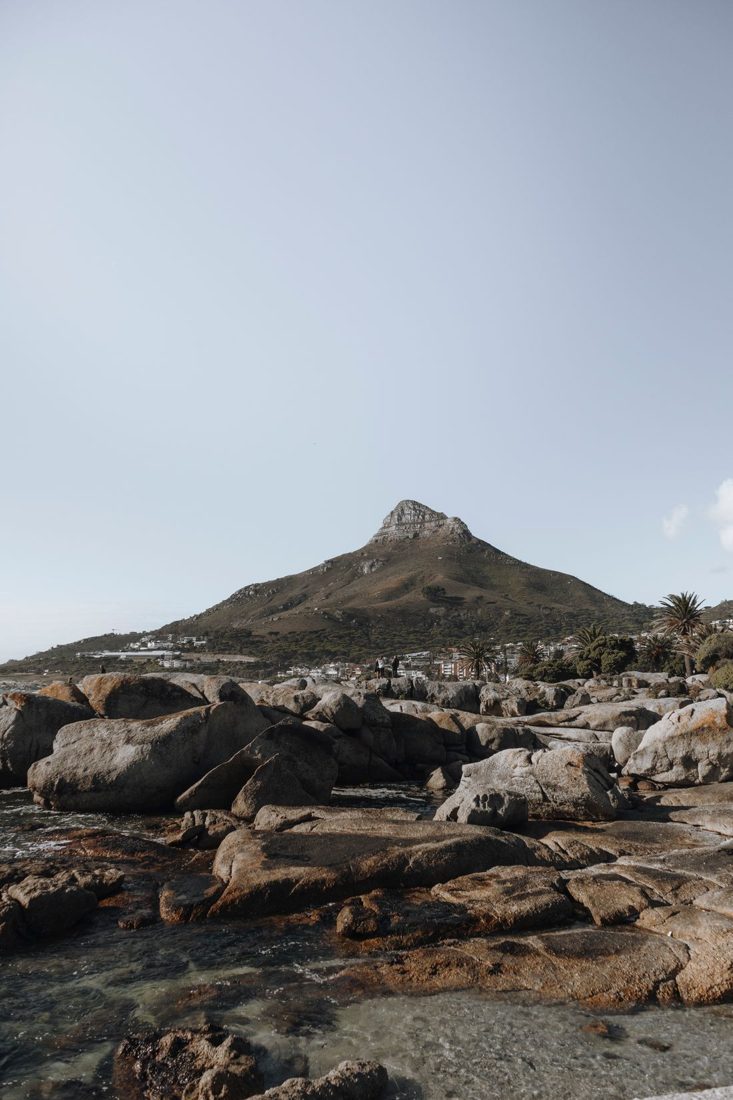
Choose a foreground that leads into the scene, keep overlaps clear and balance nearby detail with the distant feature that gives the photograph its purpose.
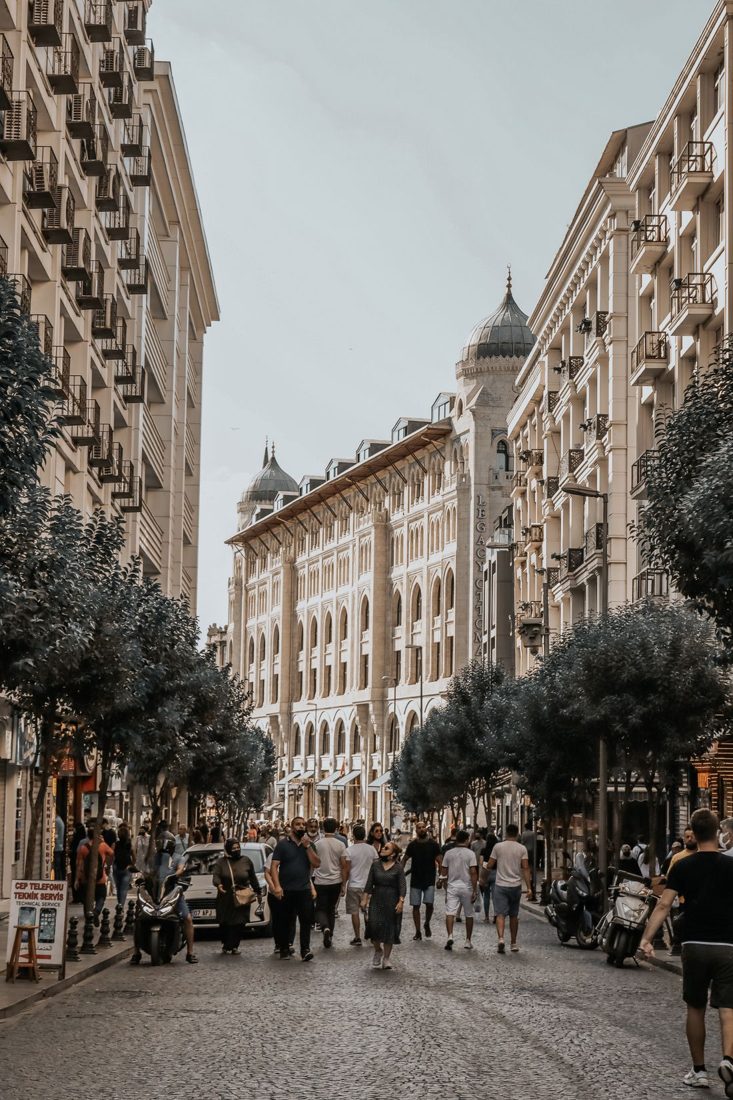
Simplify a crowded street photograph by choosing a clear subject, controlling overlaps and waiting for a useful arrangement instead of trying to include everything.
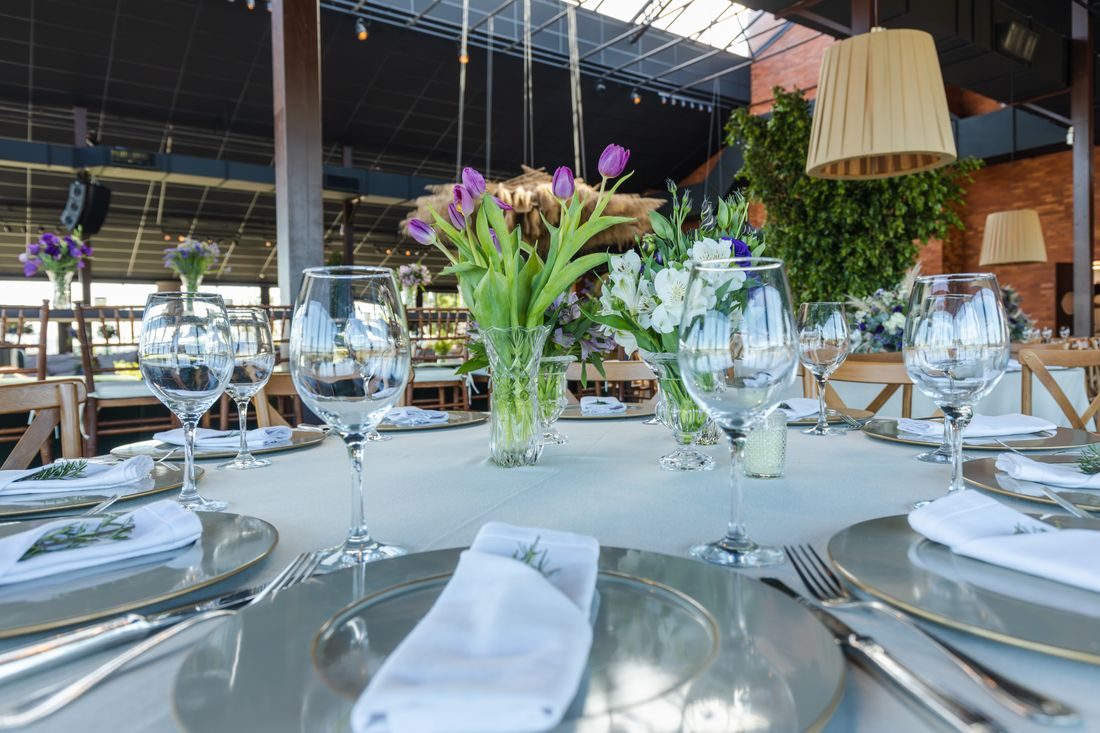
Plan details that explain an event’s people, setting and activity, then photograph them with enough context to remain useful beside the wider coverage.
Arrange people in readable rows, check the view from the actual camera position and make a short series that accounts for expressions as well as focus.
Control the lighting, keep a useful reference and compare products as a series so colour changes do not come from an inconsistent shooting or editing process.
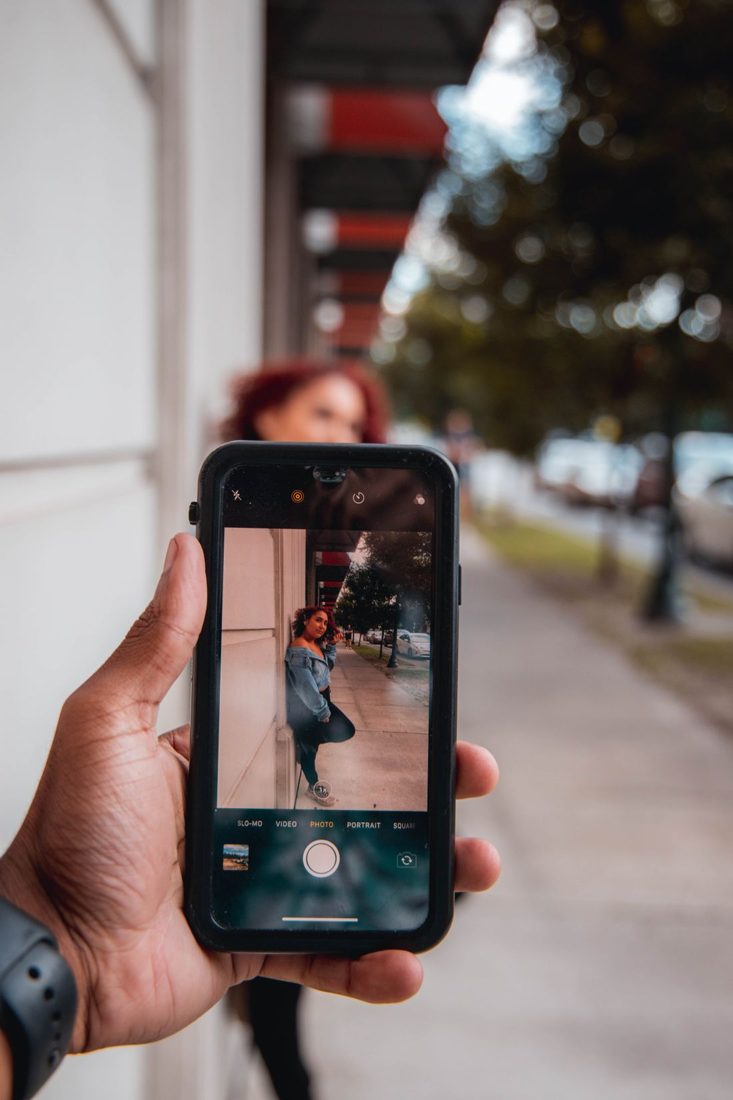
Use background blur when it helps a subject stand out, but compare edge handling and context before making portrait mode your default for every photograph.
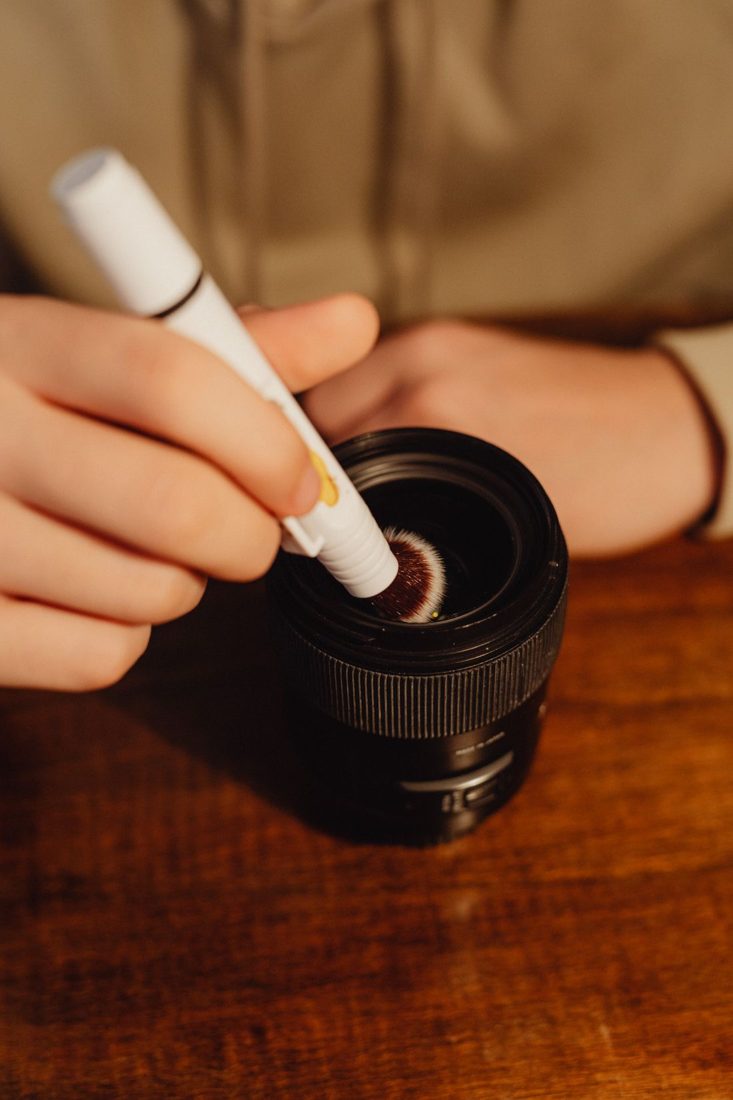
Remove loose particles before wiping, use materials appropriate to the particular lens and stop when a mark needs more than routine external cleaning.
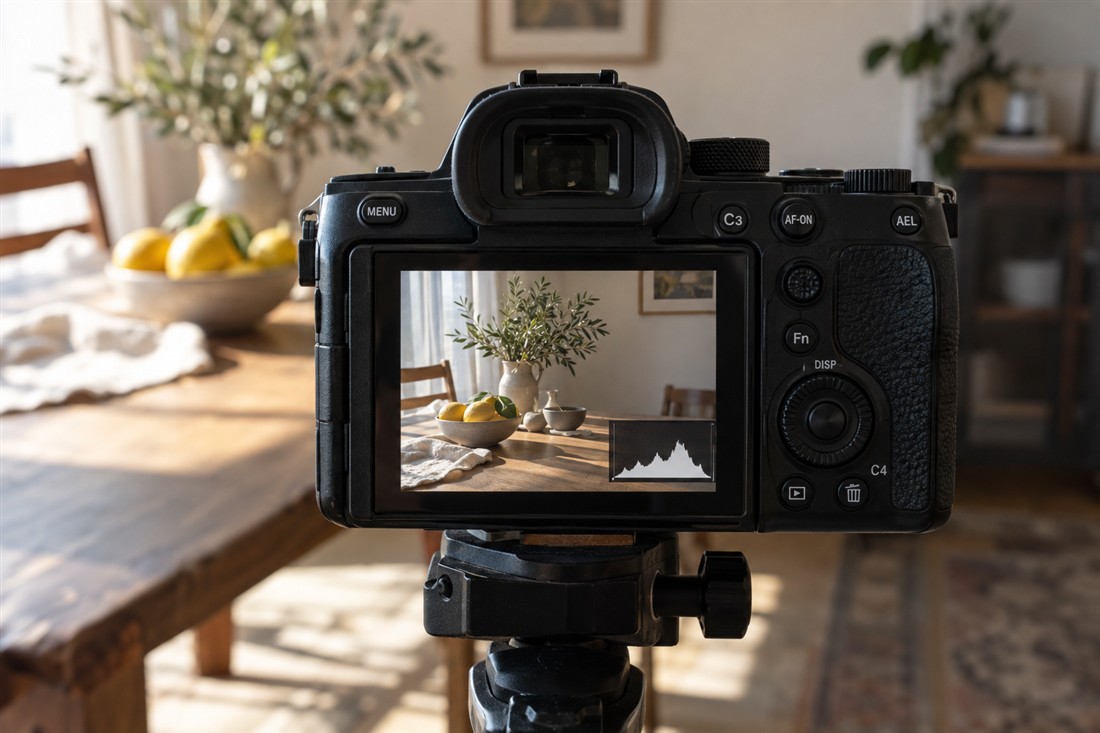
Use a histogram alongside the photograph to spot potential clipping, identify which bright areas matter and make a deliberate exposure adjustment before leaving the scene.
Match your capture format to editing time, delivery needs and storage rather than assuming that the file with the most flexibility always suits the assignment.
Build a focused portfolio by choosing the audience, removing redundant images and testing whether the sequence demonstrates the work you want to be asked to do.
Protect the main subject across different aspect ratios by working from an original, making separate intentional crops and checking the exported images at their actual display size.
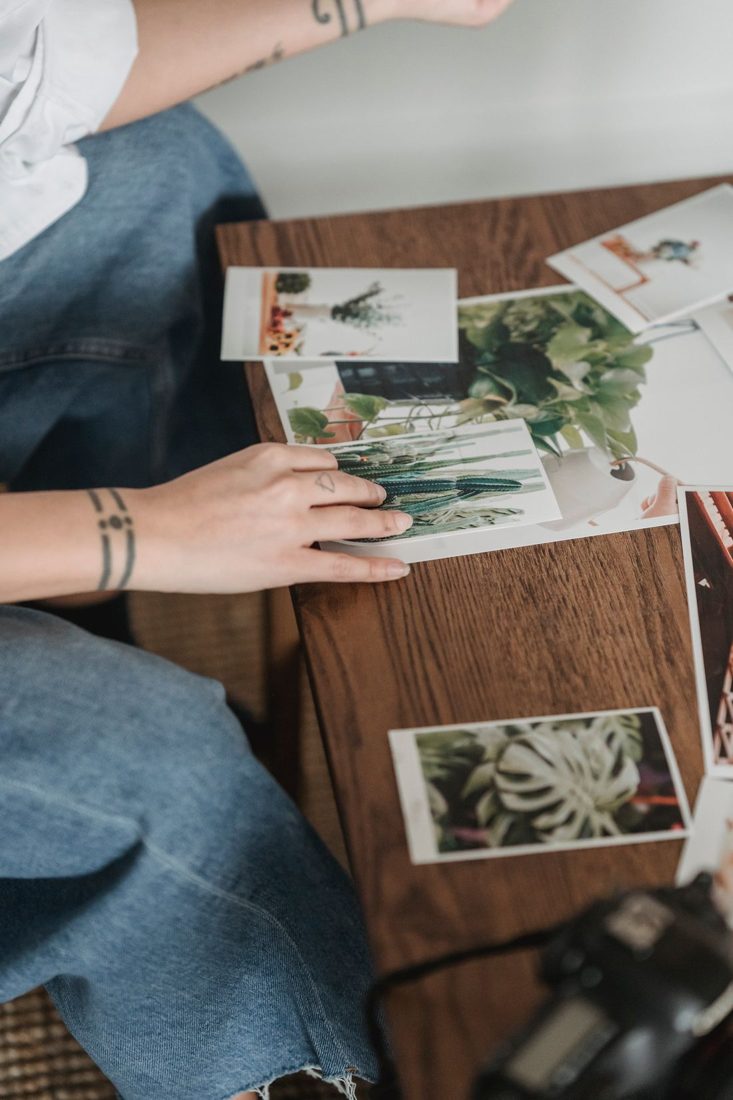
Make a careful digital copy by keeping the print flat, controlling reflections and preserving an untouched scan before adjusting colour, damage or framing.