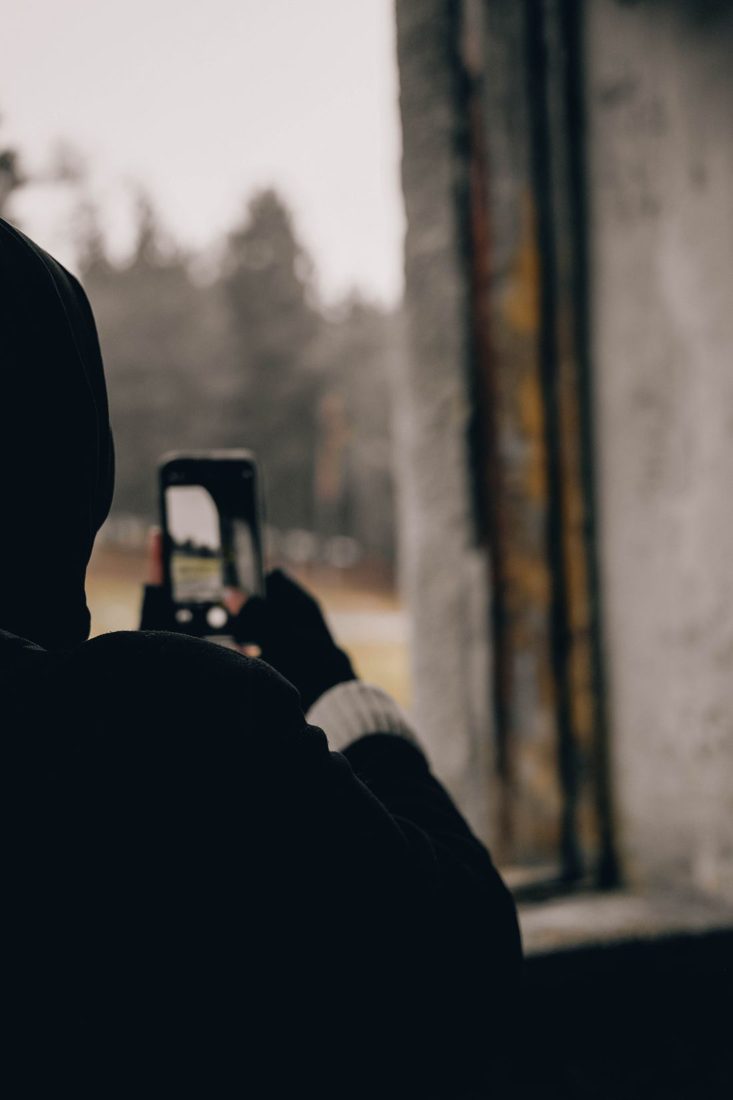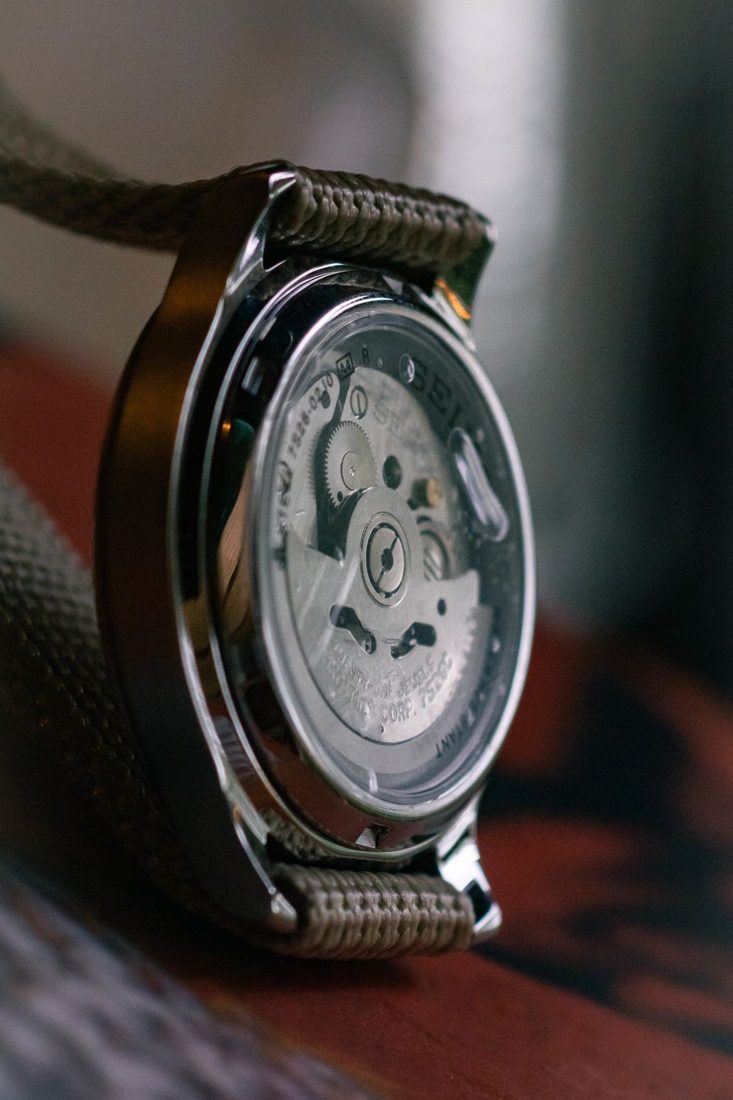
A close-up can show one sharp edge while the rest of a small object looks unexpectedly soft. It can also fail because the camera is simply too close to focus. These are different problems. Begin by choosing the detail the viewer must understand, then establish a distance and angle that let your camera record that detail clearly.
Step back until focus becomes reliable
If the camera repeatedly hunts or never shows a crisp detail, increase the distance slightly. Lenses have a closest focusing distance; moving closer does not keep increasing useful detail indefinitely. Phones may also change cameras or offer a dedicated close-up option, depending on the model. Check your device’s guidance rather than forcing it to focus at an unsuitable distance. A modest crop from a sharp image may be more useful than a full frame of blur.
Choose the surface that matters
For a coin, place the face you want to show as nearly parallel to the camera as the composition allows. For a ring or handmade clasp, choose whether the setting, engraving or overall shape is the main detail. Focus on that feature deliberately.
At close distances, depth of field becomes especially important, as Nikon’s macro guidance notes. A diagonal object can extend beyond the visibly sharp region even when the focused point is clear. Change the angle before assuming a different camera is required.
Remove movement from both sides
Put the object on a stable surface and keep light supports from touching it. Support the camera with an appropriate tripod or stable arrangement, and use a timer or remote release if available. A camera that remains still cannot compensate for a dangling object moving in a draught. For handheld work, improve the light and use a shutter setting suitable for holding the camera steady, rather than relying only on a carefully selected focus point.
Inspect the actual detail
Look at the captured file at a useful magnification. Is the chosen detail crisp, or is another area sharper? If everything has a similar directional smear, investigate movement. If one plane is clear and nearby areas soften gradually, reconsider depth and angle. On a camera with aperture control, a smaller opening may extend the sharp-looking region but can require a longer exposure or other adjustment. Change one setting and compare instead of making several blind corrections.
A convincing close-up makes its important detail readable. Keep a reference shot, alter distance or angle in small steps and inspect each result. Once you can identify whether the problem is focus, depth or movement, buying another lens becomes a considered choice rather than the first response.