An indoor photograph can look convincing until you notice the window has become a blank white rectangle. The room and the view outside may differ greatly in brightness, and automatic exposure must make a compromise. Start by deciding whether the photograph is about the person, the room or the view. That decision should guide your adjustment rather than a blanket rule to make everything darker.
Decide which detail must survive
If the window is only a background, a bright patch may be acceptable. If the view explains the location, you need visible shapes and colour outside. Take an initial photograph and inspect the saved image, since the preview alone may not show the final processing. Look specifically at pale curtains, the window frame and clouds: are they bright but detailed, or featureless? Make your next adjustment for those areas.
Adjust brightness without losing your subject
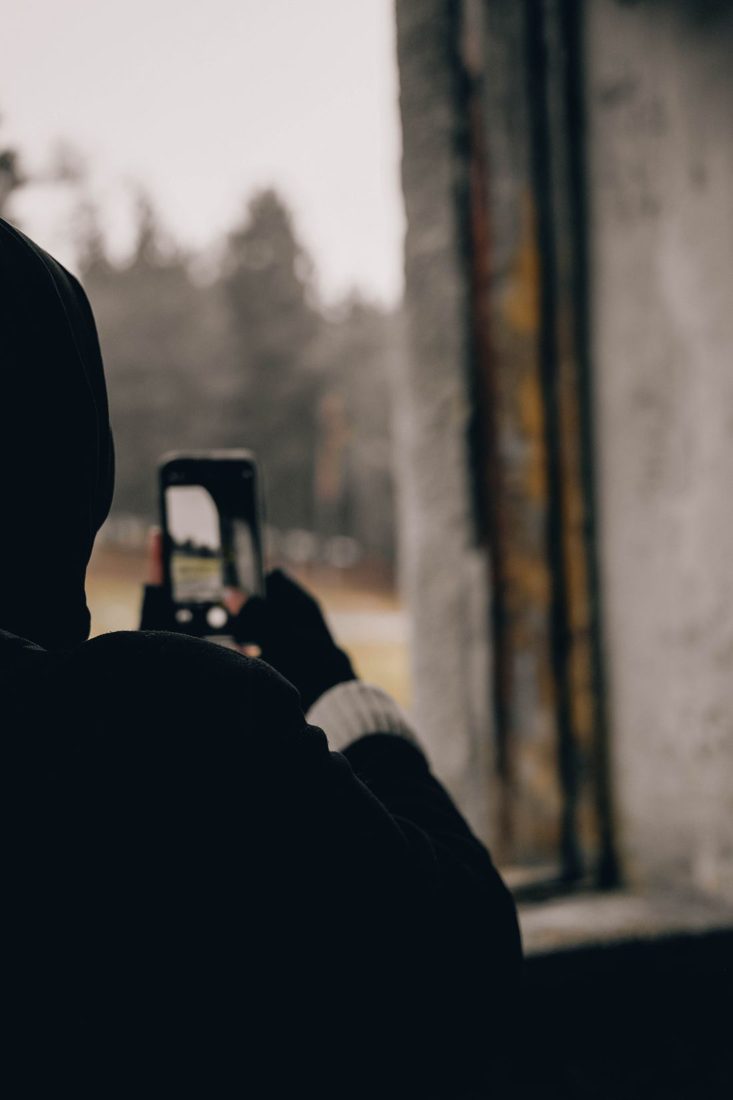
Use the exposure control supported by your phone’s camera app and lower brightness gradually. The gesture and available controls vary by device. Apple documents separate focus and exposure adjustment for iPhone; consult the corresponding guide for your own model rather than assuming a particular icon will appear.
Compare the window and the main subject after each change. If the person becomes an unreadable silhouette before the view appears, exposure alone is not solving the scene. Do not keep darkening merely to recover a small, unimportant patch outside.
Change the arrangement when the range is too large
Move a portrait subject closer to the window and turn them toward its light, then reframe from the side. You may be able to keep the view out of the frame entirely while still showing an appealing room. For interiors, try a time when the exterior is less bright. Avoid switching on assorted lamps automatically; they can introduce different colours and new reflections without providing enough useful light where needed.
Review the compromise at normal size
Take two or three considered versions rather than a long sequence of nearly identical frames. Compare them at the size you intend to share. Keep an original before editing, and use restrained highlight and shadow adjustments on a copy. If a bright area contains no captured detail, lowering it may only produce a grey patch. Revisit the position or time of day when both interior and exterior genuinely need to be clear.
A balanced window photograph begins with a priority. Preserve the detail that helps explain the subject, then change the arrangement when the brightness difference is too large. The useful result is a readable scene with intentional light, rather than a darker image whose main subject has disappeared.