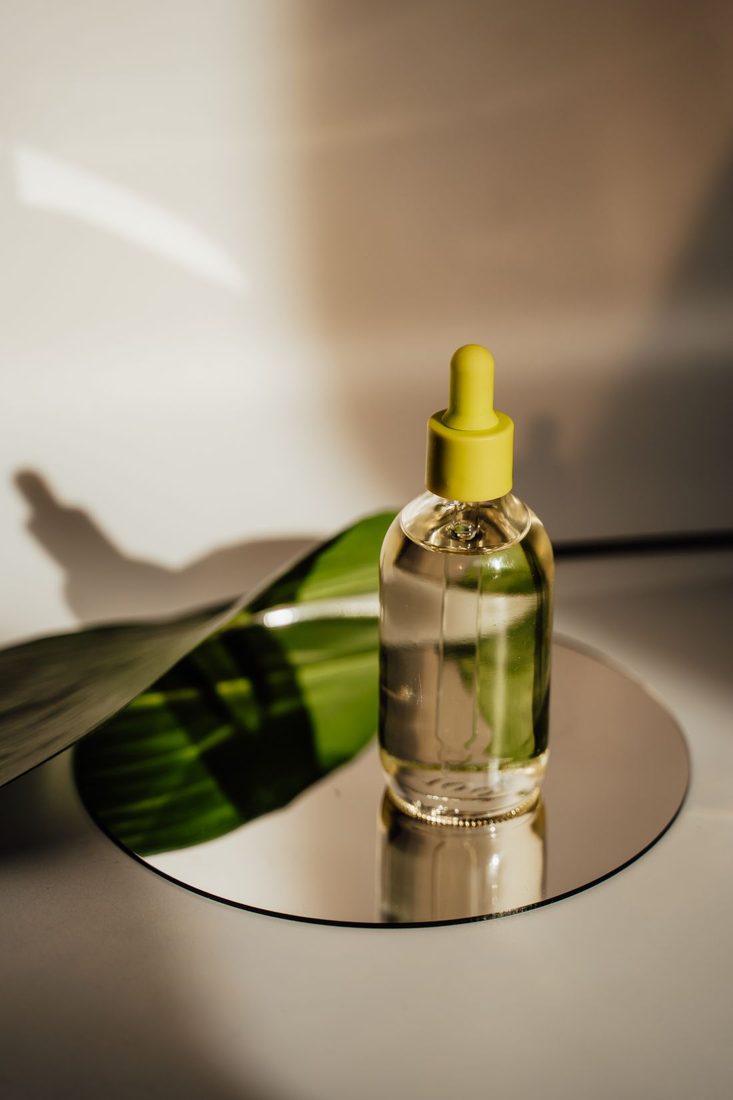
A polished mug, glass bottle or shiny accessory reflects part of the room around it. The bright patch in the photograph may be a window, lamp or even your shirt. Rather than treating every reflection as a camera fault, identify what the surface is showing. You can often improve the photograph by changing that surrounding scene.
Find the source of the bright patch
Place the product on a stable table and watch the reflection while moving your camera slightly. Then move the light or the object by a small amount. Notice which movement changes the patch. This helps distinguish a reflection from a pale part of the product itself. Do not immediately underexpose the entire picture: a darker file can retain the same distracting shape while making the label and edges harder to read.
Give the surface something simple to reflect
Try placing a clean white card beside the object, outside the camera’s frame. Watch whether it creates a more useful broad reflection than the cluttered room. A dark card can change another section of the surface, helping an edge become visible. Move one card at a time and compare saved frames.
Keep cards and supports secure and away from hot lighting equipment. For a small product beside a window, you can work with ordinary room-temperature surfaces and avoid adding a complicated lighting arrangement at the beginning.
Keep enough reflection to show the shape
A shiny object with every visible reflection removed can become difficult to understand. Look for a controlled highlight that describes a curve while leaving important details readable. Rotate a bottle until the label is clear, but check that its side and base have not merged into the background. For several products in a series, record the position of the table, window and cards so the shape of the light remains reasonably consistent.
Clean and review before retouching
Handle the product with care appropriate to its finish and remove visible fingerprints or dust without damaging it. Photograph a small test and inspect the label, bright patch and outside edge at a useful magnification. Make another frame after correcting the most obvious issue. Editing can tidy a minor speck, but reconstructing a label hidden beneath a large reflection may misrepresent the product. A cleaner starting arrangement saves both time and guesswork.
Judge a reflective product by how clearly the photograph describes its form and surface. A deliberate highlight can be useful; a random picture of your room usually is not. Keep one successful reference frame beside subsequent shots so changes in angle or surroundings are easier to notice.