A face can be brightly lit while the person in front of the camera struggles to read the script or look towards the lens. Main-light placement needs to serve both the picture and the presenter. Instead of putting a bright fixture directly beside the camera by default, begin with a modest output and adjust its position while checking the actual frame.
Start with the presenter’s sightline
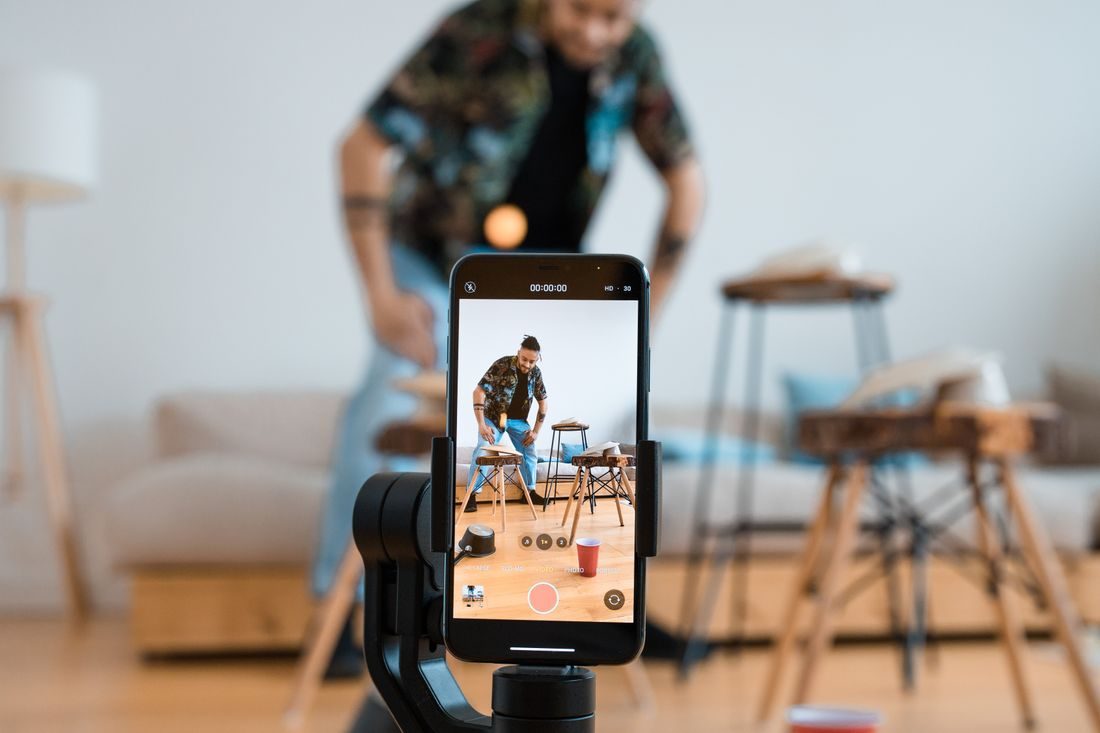
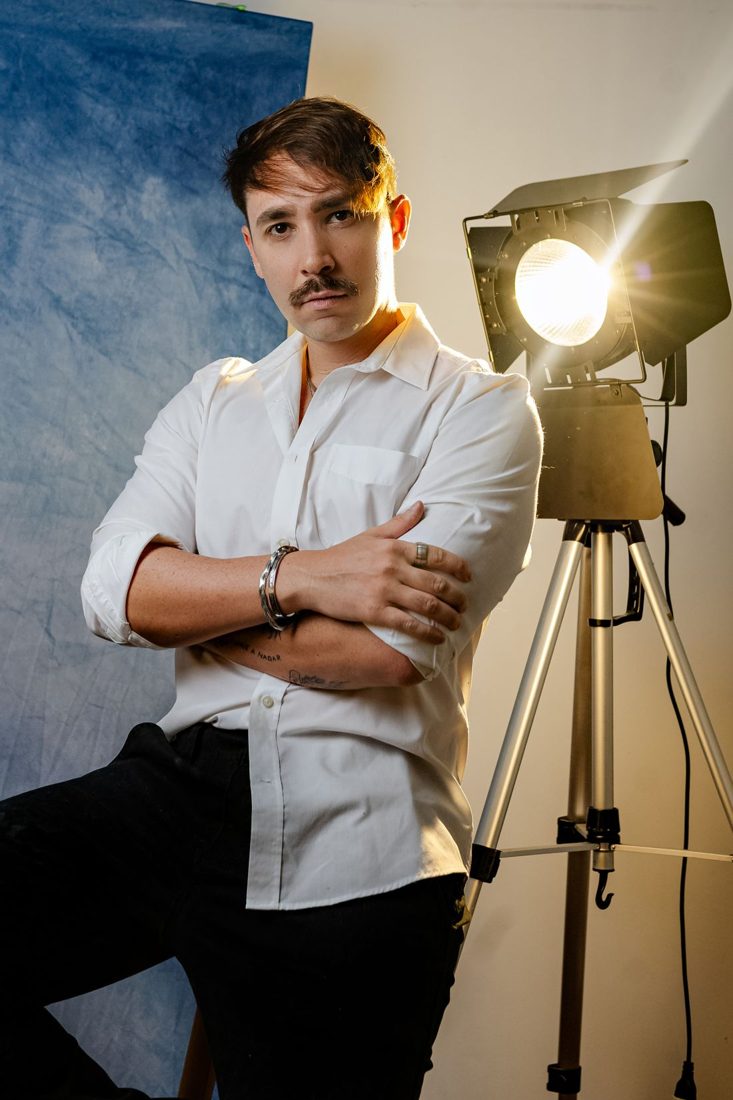
Sit or stand in the intended recording position and locate the camera, notes, and any monitor you must see. Place the main light outside the direct route between your eyes and those targets. A little height and sideways movement can change both facial modelling and comfort, but there is no single angle that suits every face or room.
Use the light according to its instructions and avoid staring into the emitter to judge brightness. Evaluate a short camera preview instead. If the fixture is still distracting in your peripheral vision, adjust its placement or output before expecting yourself to ignore it throughout a long take.
Judge the shadows rather than the fixture
Check the shadow under the nose and around the eyes. A light placed too high for the particular setup may leave the eyes dark, while a low position can create an unusual upward-lit effect. Move the fixture gradually and compare a few brief clips with the presenter speaking and turning naturally.
If glasses catch a bright reflection, change the relationship between camera, face, and light in small steps. Raising the fixture slightly or moving it farther to the side may help, but keep checking the whole face. Removing one reflection is not useful if the presenter is then poorly lit or unable to see the script.
Use approved light shaping
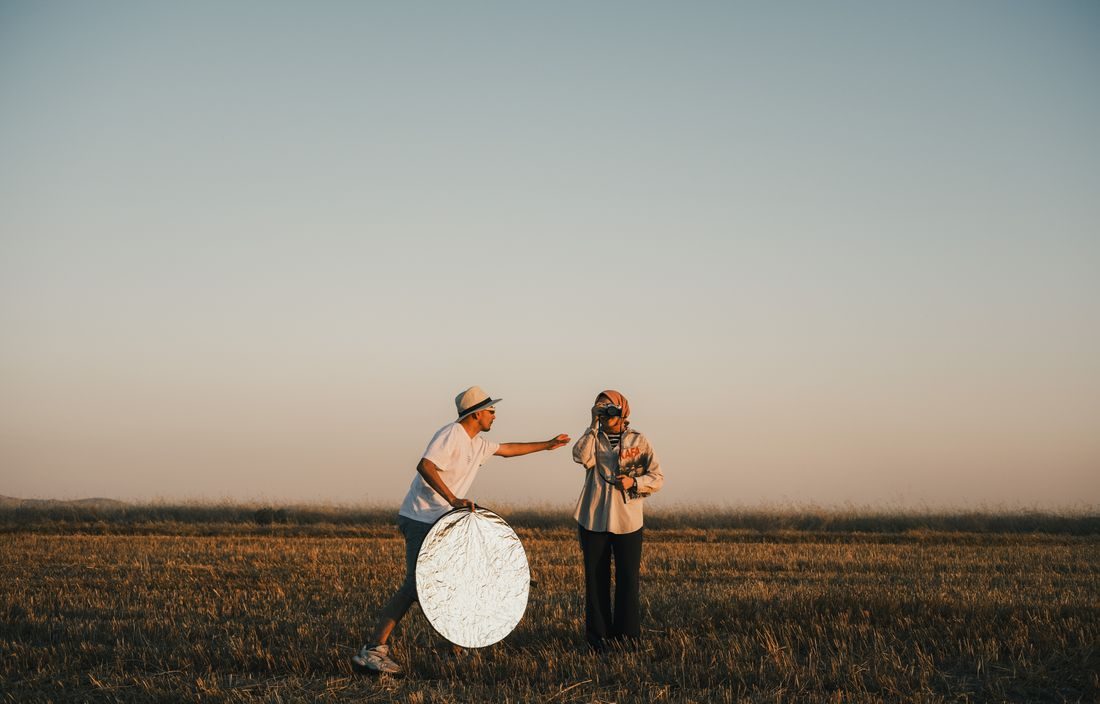
A compatible diffuser or softbox can change how the light falls, but it does not make direct viewing automatically comfortable. Fit only accessories approved for the fixture and keep ventilation clear. Do not drape improvised fabric over a lamp. When more fill is needed, consider a suitably positioned reflector instead of immediately increasing the main light’s intensity.
Test a full passage
Record enough to include ordinary blinking, gestures, and glances at the script. Ask the presenter whether the position feels workable. Check exposure on the camera, then review the recorded image for highlights, eye detail, and reflections. Mark stand positions only after the lighting and speaking arrangement work together, keeping supports and cables away from the route people use to enter and leave.
Keep the final position easy to reproduce, including the light height and direction rather than brightness alone. If daylight changes during the session, reassess the balance. A useful key light helps the face read clearly while leaving the presenter free to concentrate on the explanation and maintain natural eye contact.