Frame rate describes how many individual pictures make up a second of video. Choosing it is a project decision rather than a competition for the largest number. An interview, a screen demonstration and a slow-motion action shot can have different needs. Set a sensible recording and editing plan before collecting clips that must later fit together.
Check where the finished video will go
If a client, broadcaster or existing project specifies a frame rate, use that requirement as your starting point. Check the actual delivery instructions rather than assuming that a particular platform always demands one setting. For a personal web video without a fixed requirement, choose a rate your camera and editor handle comfortably.
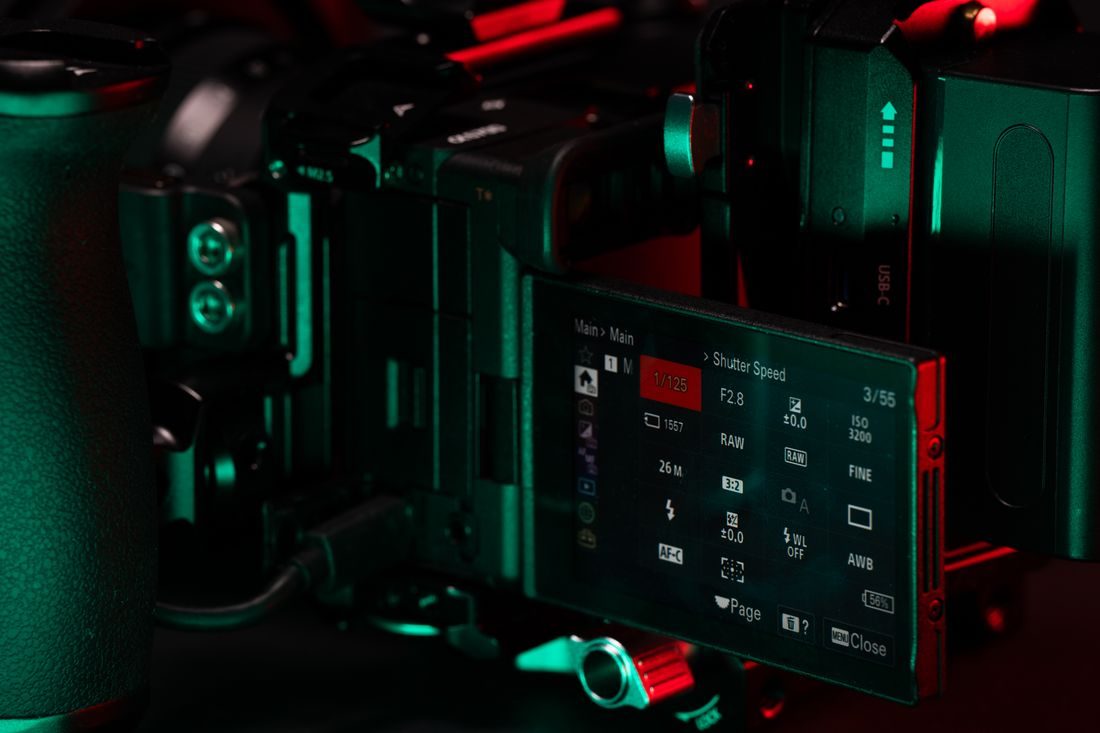
Common normal-speed choices include 24, 25 and 30 frames per second, with fractional variants on some equipment. These are not interchangeable labels in every workflow. Match the exact recording option to your editing sequence where possible, particularly when the video will be combined with an established project.
Decide whether the motion needs slowing down
Higher recording rates such as 50 or 60 frames per second can support smoother-looking normal-speed motion or slower playback in a lower-rate sequence. Decide which purpose you intend. A clip recorded at 60 and played at 30 using every captured frame lasts twice as long; simply placing it on a timeline may not automatically produce that interpretation.
Reserve high-rate recording for moments that benefit from it, such as a quick hand movement or water being poured. Check the camera's available resolution, audio recording and recording limits in that mode. Some dedicated slow-motion modes behave differently from ordinary high-frame-rate video.
Test the motion and light together
Record someone walking through your actual scene, or make the kind of camera movement the project will contain. Look at the result at normal playback speed. Frame rate, shutter setting, subject movement and camera movement all affect how motion appears; changing the frame rate alone does not guarantee a particular visual style.
Higher frame rates can also change the available exposure choices and increase storage needs, depending on the recording format. Check indoor lights for flicker and make a short test under the exact fixtures you will use. A technically valid setting may still give an unpleasant result in that room.
Keep the timeline decision visible
Create the editing sequence deliberately and confirm its rate before assembling the project. If you import the first clip and let the editor create a sequence automatically, verify the settings instead of assuming they represent your original plan. Label slow-motion material so it is not mistaken for a normal-speed interview recording.
Export a small section with speech and movement, then watch the actual exported file. This reveals unwanted speed changes or uneven motion before a long render. Keep source recordings intact so a mistaken interpretation can be corrected without losing the original frames.
Choose a frame rate that serves the destination and the movement you intend to show. Consistent normal-speed material and clearly identified slow-motion shots make editing simpler. A short recording and export test is more useful than applying a universal setting to every kind of video.