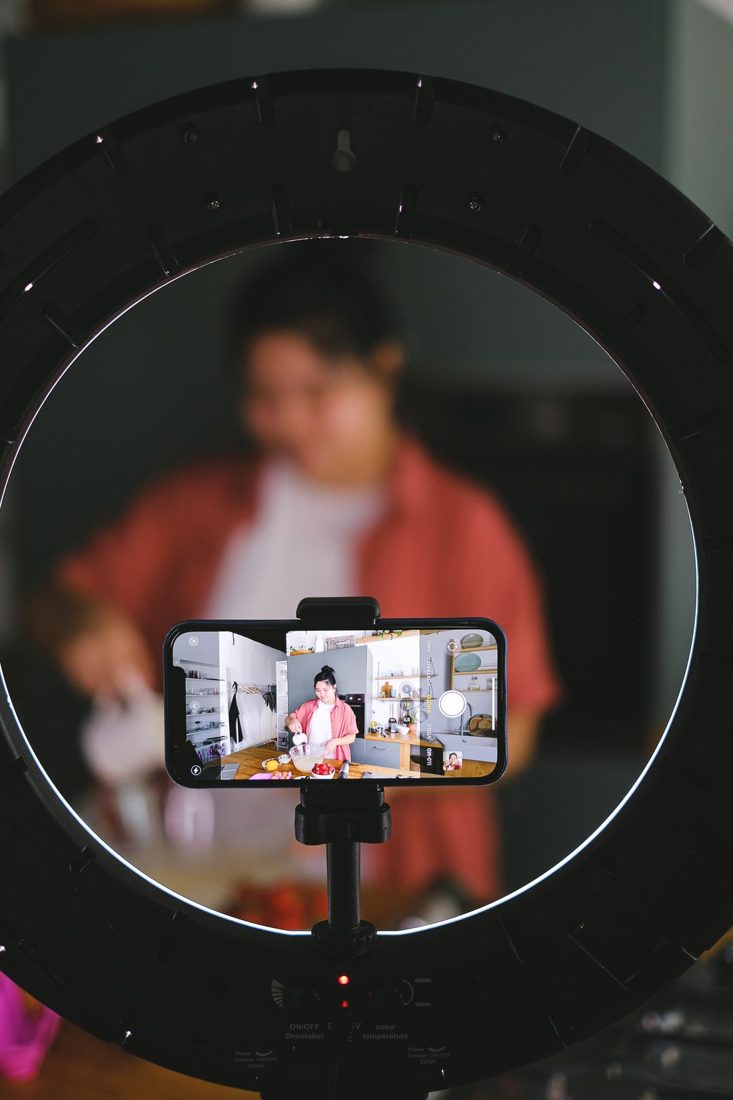
In a cooking demonstration, the camera needs to see the task rather than merely the cook standing beside it. Hands, bowls and pan handles can hide the precise step a viewer is trying to learn. Plan the main working area around a short rehearsal, and choose additional angles only where they reveal information that the main view cannot show.
Choose the working area before placing the camera
Put the board, bowl or pan where you can use it comfortably, then identify the side from which the important action is visible. An angled view often shows both the ingredients and the movement of the hands. A straight frontal view may leave the work hidden behind the near edge of a bowl.
Keep unused ingredients outside the central action area and bring them in when needed. Place a finished example nearby only if it helps explain the result. A crowded counter makes it harder for the viewer to distinguish a necessary ingredient from something left over from preparation.
Rehearse with your actual hands and tools
Perform the movement without starting the main recording. Check where your forearm passes, which hand holds the container and whether a utensil blocks the lens at the decisive moment. A camera position that looks excellent over an empty board can fail as soon as the chopping begins.
Use small position adjustments rather than forcing an unnatural cooking technique. If stirring clockwise hides the mixture from one side, a different camera position may solve the problem. Food preparation should remain controlled and comfortable; the shot is not improved by making the task awkward.
Keep equipment clear of heat and movement
Put the camera support outside the path of hot cookware, splashes and working elbows. Follow the support's load and mounting instructions, particularly for an overhead setup. Do not improvise a suspended camera above food or a hot pan when the mount is not intended for that use.
Check cables, tripod legs and microphone placement before heating anything. Leave room to set down a hot utensil and to move safely between the cooking and preparation areas. If steam repeatedly covers the lens, change the angle or distance instead of reaching over the pan during the take.
Record the changes that teach the technique
Identify the visible cues the viewer needs: the size of chopped pieces, the texture after mixing or the way a sauce coats a spoon. Record close views of those details where the main shot is insufficient. Describe them plainly in speech rather than relying on a vague instruction such as cooking until it looks right.
Keep track of which stage each close view represents. If you record an additional demonstration later, make sure the ingredient, consistency and technique agree with the original step. Watch the edited sequence to confirm that an omitted pause has not disguised an important cooking time or transition.
Play the key step back before clearing the work surface. The viewer should be able to see what the hands do and what changes in the food. A well-positioned main camera plus a few explanatory details can teach the process without turning the counter into a complicated film set.