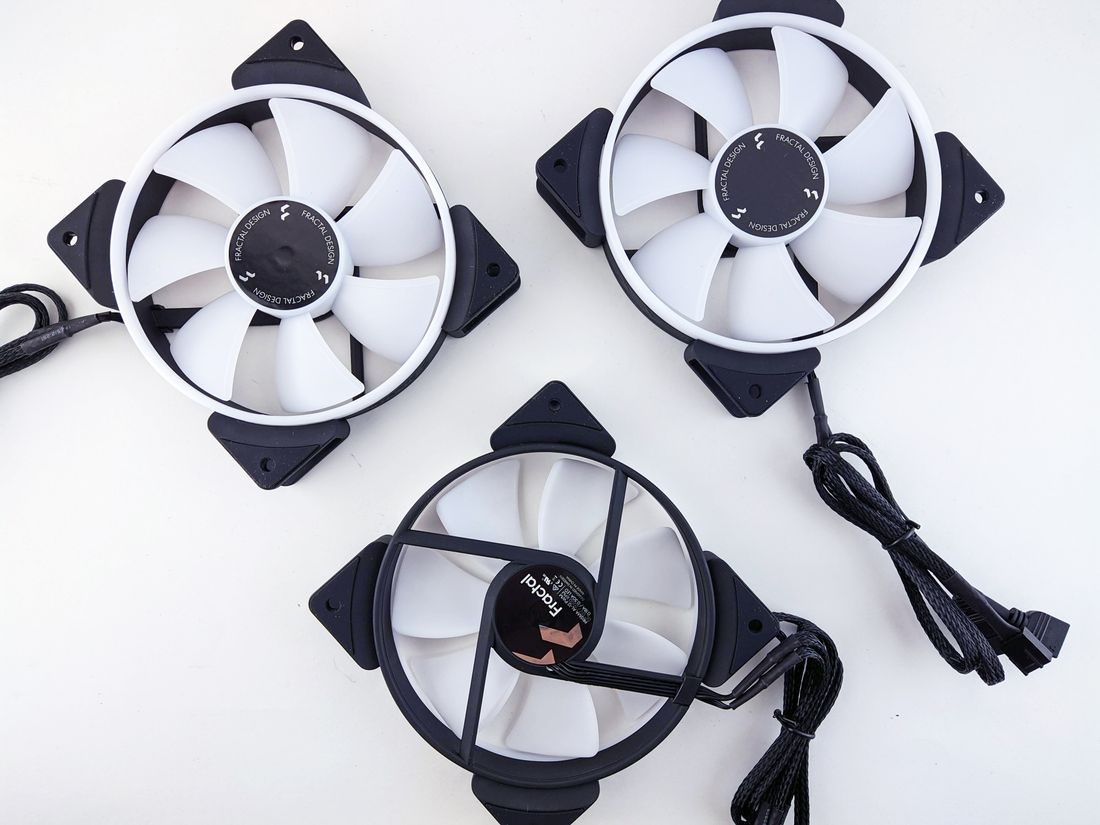
A small studio can quickly fill with a computer, displays, chargers, lights, and audio equipment. Stacking them neatly may hide ventilation openings or place one device’s warm exhaust beside another. Before trying to fit everything on one shelf, read the operating guidance for the actual equipment. The room should support the devices while they work, not only look organised when they are switched off.
Find the airflow requirements for each device
Identify vents and any manufacturer-specified clearance. Some openings are beneath a device or on a side that is easy to overlook. Check instructions for the intended operating position, especially when considering a vertical stand, rack, or closed cabinet. Do not assume a unit can be used in every orientation just because it physically fits.
Distinguish storage from operation. A bag may protect a laptop during transport without being a suitable surface while it edits or exports. Likewise, a drawer that holds chargers neatly when disconnected may not be an approved place to run them. Follow the device’s operating environment guidance rather than inventing a universal clearance distance.
Arrange supports and cables around openings
Use stable supports that leave the required areas clear. Keep papers, cloth backdrops, and spare packaging away from vents. Route cables so they do not gather into a dense obstruction at the rear of a computer or display. Allow enough slack to inspect connections without pulling the equipment against a wall.
Consider the complete working load: external drives, power supplies, and recording accessories may all be active together. A tidy layout should make it possible to identify which power supply belongs to which device. Keep access to switches and plugs practical without moving heavy equipment every time.
Check the arrangement during a real task
Run a normal editing or recording task and observe the equipment according to its guidance. Notice warning messages, unexpected shutdowns, or changes that call for investigation. Do not dismiss a warning because the device has been packed tightly in the same place for months. Follow the manufacturer’s troubleshooting steps and seek appropriate service when needed.
Clean only through the approved method, with equipment in the required powered-down state. Avoid pushing tools into ventilation openings or opening enclosures unless that is an authorised user procedure. Review the layout whenever another device is added; a new drive or light supply can occupy the clearance that the original arrangement relied on.
Take a reference photograph of the working layout with ventilation areas visible. Keep the relevant equipment guidance available for future changes. In a compact studio, preserving the space a device needs to operate is part of organising the kit, even when that means putting fewer items on the shelf.