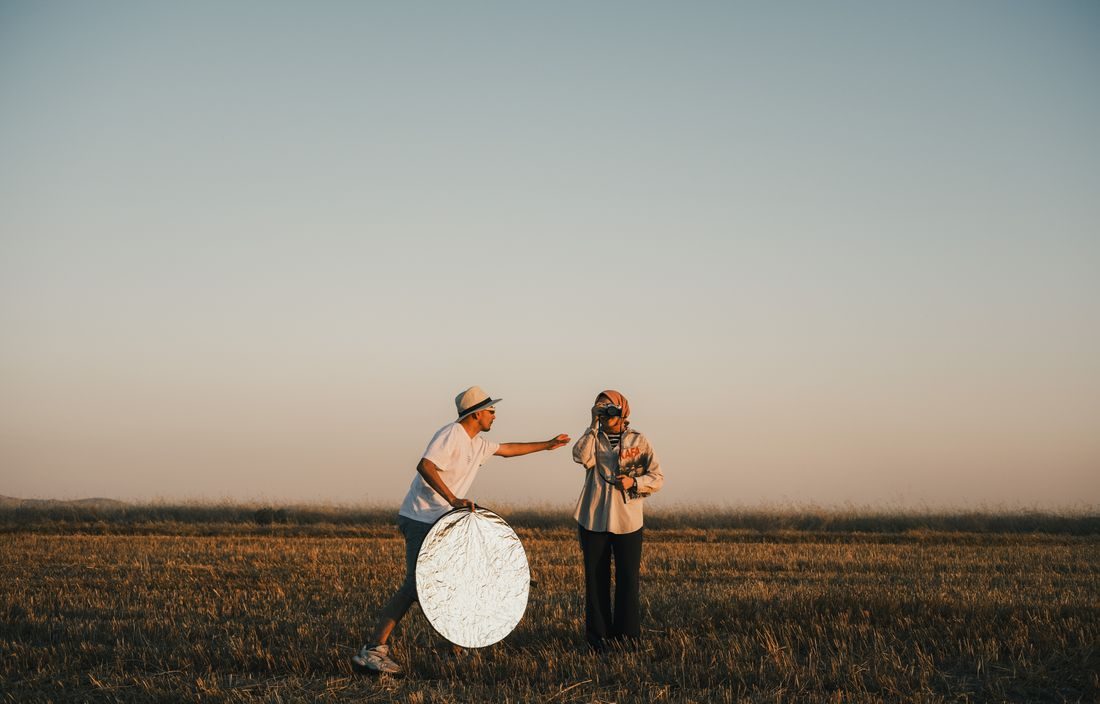
A short local shoot can still become awkward if the one needed adapter is at home or the camera is buried under unnecessary accessories. The answer is not automatically a bigger bag. Start with the assignment, the walking route, and the time available. A compact kit should cover the actual recording plan and a few realistic interruptions while remaining comfortable to carry and simple to unpack.
Turn the shot plan into equipment needs
List the essential images or recordings first. Match each to the camera, lens, microphone, and support it requires. If two lenses perform nearly the same job for this assignment, decide whether both justify their weight. Do not pack an accessory solely because an empty compartment remains.
Check the location arrangements, expected conditions, and any permissions needed for your activity. A nearby location can still involve stairs, limited shelter, or a long walk from transport. Those details affect which support you can carry and how quickly you can set up.
Pack in the order you will work
Place the first-needed camera configuration where it can be removed without emptying the bag. Use suitable dividers and protection so hard accessories do not press against the lens or display. Secure caps and small components in consistent positions rather than dropping them into an unstructured pocket.
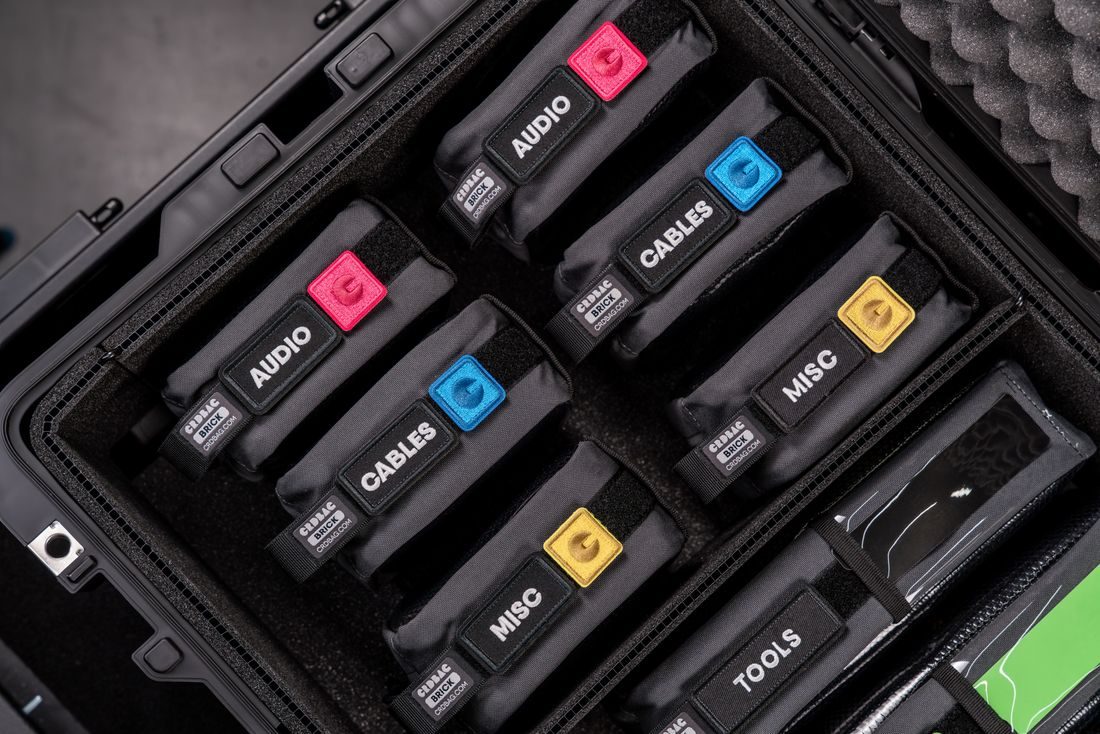
Keep charged batteries and ready memory cards clearly separated from used items. Protect battery terminals as the manufacturer specifies and do not leave loose batteries with metal objects. Give audio adapters and other easily forgotten essentials a small labelled pouch. Include only cables that fit the devices you are taking.
Prepare for ordinary interruptions
Carry suitable weather protection for the equipment and check how it will be used before leaving. Add the cleaning supplies approved for your lens and camera, not an improvised cloth that may contain grit. For a longer session, consider what you will need to stay organised when a battery or card changes.
Leave enough room to repack without carefully rebuilding every divider arrangement at the location. Check the bag’s closures and strap, then carry the packed kit around the room. If the load is uncomfortable, remove optional equipment rather than planning to tolerate it throughout the shoot.
Do one complete connection test
Before departure, assemble the camera, microphone, and any required adapter. Record and play back a short sample. Confirm that the intended card and battery are fitted, then return each item to its planned place. This catches a missing connection more reliably than looking at a list of accessory names without testing the kit.
After returning, unpack promptly, copy the media, and note what was missing or never used. Update the packing list for that type of shoot instead of making every future kit larger. A small bag works best when its contents reflect repeated needs and a clear plan for the day.